 |
| The two stainless steel tram benches in Talbot Square |
 |
| The tram benches in Talbot Square |
 |
| The OMO Car tram bench |
 |
| A profile view of the Brush Car tram bench |
 |
| A profile view of the OMO Car tram bench |
 |
| The Brush Car tram bench |

|
| The two stainless steel tram benches in Talbot Square |
|
| The tram benches in Talbot Square |
|
| The OMO Car tram bench |
|
| A profile view of the Brush Car tram bench |
|
| A profile view of the OMO Car tram bench |
|
| The Brush Car tram bench |
 |
| Flexity 011 stopped at the Harrow Place terminus for passengers to alight |
 |
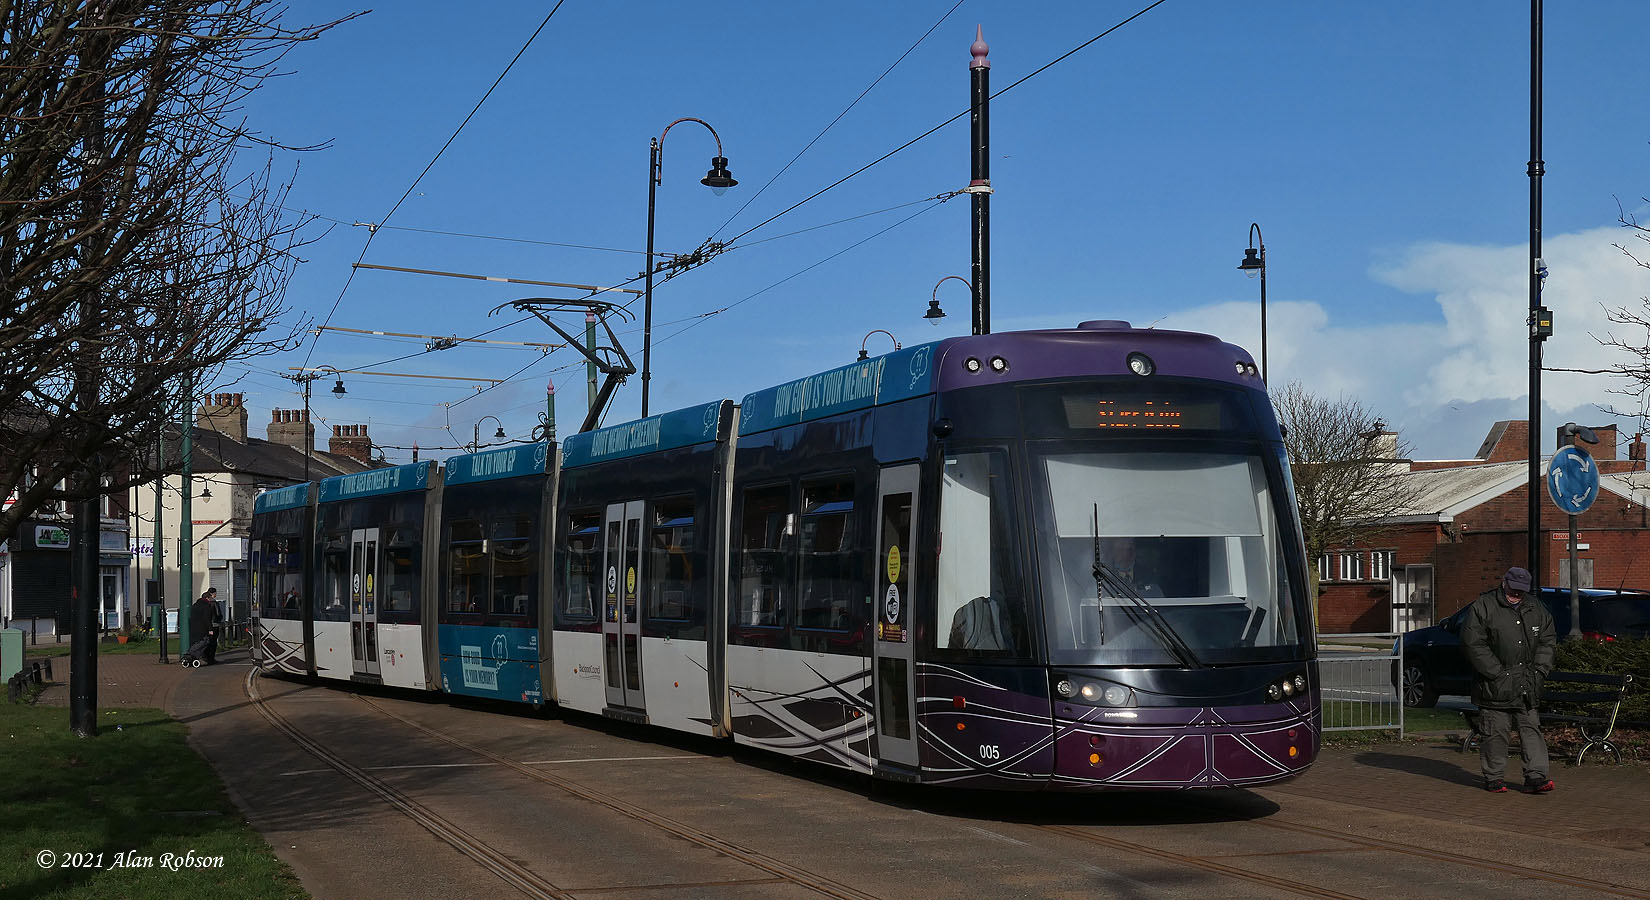
| Flexity 005 using the facing points at Abercorn Place to cross to the northbound line |
 |
| Flexity 013 using the facing crossover to the northbound line at Abercorn Place |
 |
| Flexity 011 up against the barrier on the northbound line near Abercorn Place |
 |
| Flexity 011 with track welding taking place on the curve to Starr Gate |
 |
| Flexity 005 approaching Harrow Place on its way to Fisherman's Walk |
 |
| Flexity 013 bound for Fisherman's Walk, 5 minutes later (at 1110) the line to Fleetwood Ferry reopened |
 |
| Flexity 013 with its destination now changed to Fleetwood Ferry due to the line being reopened |
 |
| Flexity 012 at Talbot Square heading south to Harrow Place |
 |
| Flexity 016 and Coastliner Buses Optare Versa YJ10EYZ at the beginning of Lord St in Fleetwood |
 |
| Flexity 005 on the crossover at Fisherman's Walk |
 |
| Flexity 003 crossing to the southbound line at Fisherman's Walk |
 |
| Flexity 008 using the crossover at Fisherman's Walk |
 |
| The guard of Flexity 016 manually setting the points at Fisherman's Walk crossover |
 |
| Flexity 008 stopped at the barrier at the beginning of Lord Street |
 |
| The stop sign blocking tram access to Lord Street in Fleetwood |
 |
| Track welding taking place on the Pharos Street curve at Fleetwood Ferry |
 |
| Track welding taking place on the curve at Starr Gate on 22nd February |
 |
| The white tent concealing the welding work taking place at Starr Gate on 22nd February |
 |
| Track welding on the northbound curve near Cleveleys tram stop on 1st March |
 |
| Grinding the freshly welded rail alongside the Metropole Hotel on 16th February |
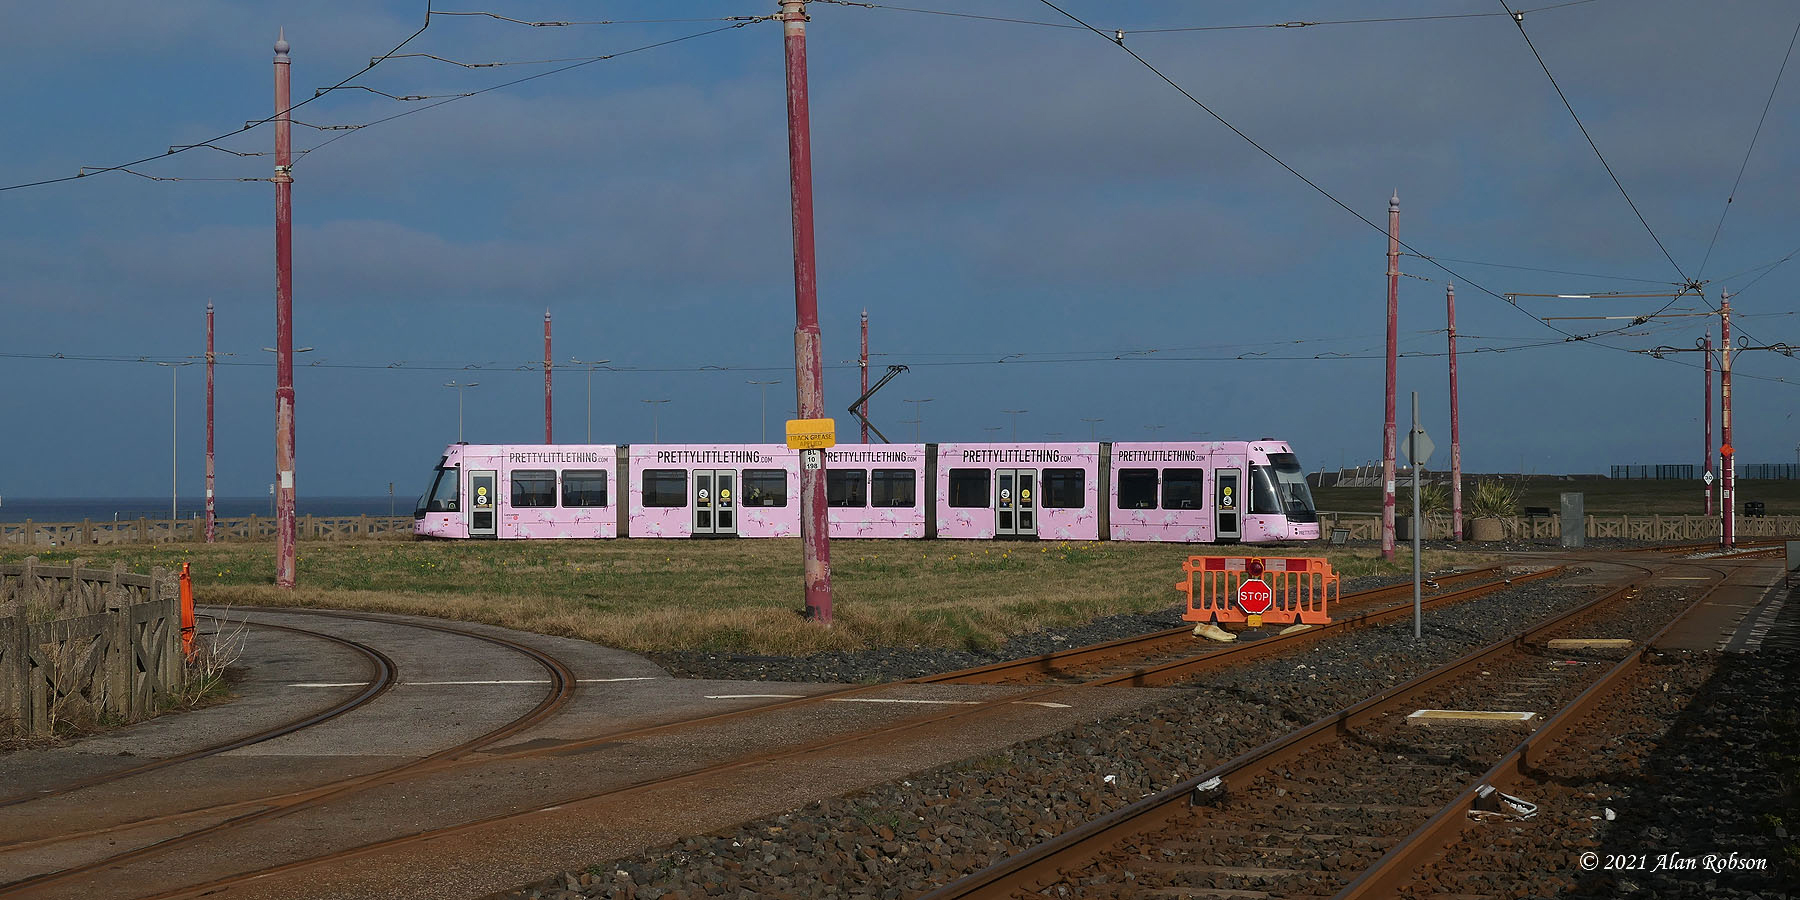 |
| Flexity 016 waiting at Little Bispham, with a stop barrier blocking the northbound line |
 |
| Flexity 008 turning short at Little Bispham on Tuesday 2nd March |
 |
| Starr Gate bound Flexity 016 passing the track barrier at Little Bispham |
 |
| Flexity 012 entering the loop at Little Bispham on 6th March |
 |
| Flexity 016 entering Little Bispham turning circle on 6th March |
 |
| Flexity 017 passing the northbound track barrier at Little Bispham on 6th March |
 |
| Flexity 003 heading south out of the turning circle at Little Bispham on 2nd March |
 |
| Flexity 015 exiting the loop at Little Bispham on its way to Starr Gate |
 |
| Unimog 939 returning to Starr Gate depot on 22nd February |
 |
| Unimog 939 attending to the overhead at Norbreck on 22nd February |
 |
| Unimog 939 on New South Promenade on 22nd February |
 |
| Unimog 939 working near Beach Road in Cleveleys on 1st March |
 |
| Unimog 939 with the snowbroom attachment fitted, towing Brush 634 in February 2016 |
 |
| The Unimog recovering 706 which had lost its trolley head, near Central Pier in September 2015 |
 |
| Flexity 012 entering the centre track at Bispham, with an orange barrier blocking the northbound line |
 |
| Flexitity 010 crew manually setting the points for the southbound line at Bispham |
 |
| Flexity 012 switching to the southbound line at Bispham |
 |
| Flexity 002 waiting on the centre track at Bispham, with the line to the north barricaded |
 |
| Flexity 012 terminating at Bispham while 010 awaits its departure time for Starr Gate |
 |
| Flexity 010 terminating on the centre road at Bispham before reversing direction |